The adventure begins...
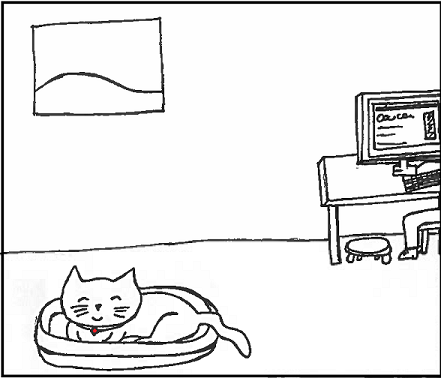
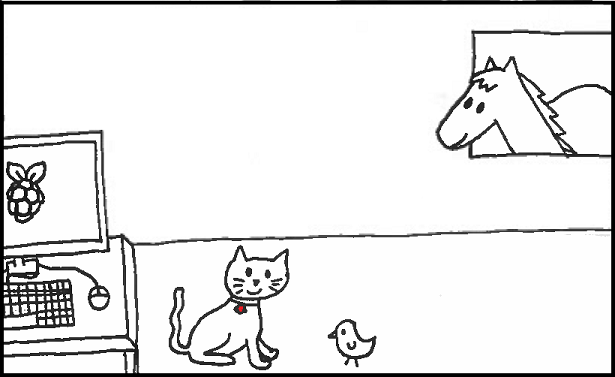
It was a beautiful fine day on the farm where our story starts. Ruby the cat was enjoying the warm sunshine streaming into her window. Her human, Gerry, was on the computer. All felt right with the world.
Suddenly, Ruby glanced at Gerry's computer screen and saw something she never thought she'd see. Gerry was looking at other cats online!
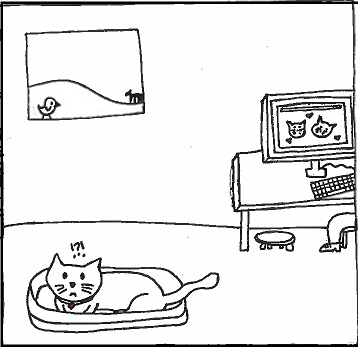
"Oh no!" yowled Ruby. She was shocked and confused. Cats? On the Internet? Sure, Gerry spent a lot of time online, but other cats???
"I'm right here! Gerr could just play with me! Why does Gerry need other cats to be entertained?" Ruby worried to herself.
"What to do, what to do?" she thought. She had to get to the bottom of this!

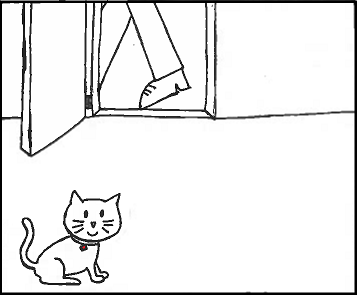
Gerry got up and suddenly walked out the door. Ruby began to smile as she formulated a plan. Gerry didn't know her secret. Gerry didn't know that Ruby was no ordinary cat.
"Pixel! Ed!" Ruby called out to her friends. "There's a problem that needs to be solved, and ScriptKitty can't do it on her own."
Your Goal:
Help Ruby (a.k.a. ScriptKitty), Pixel and Ed figure out what Gerry is doing!
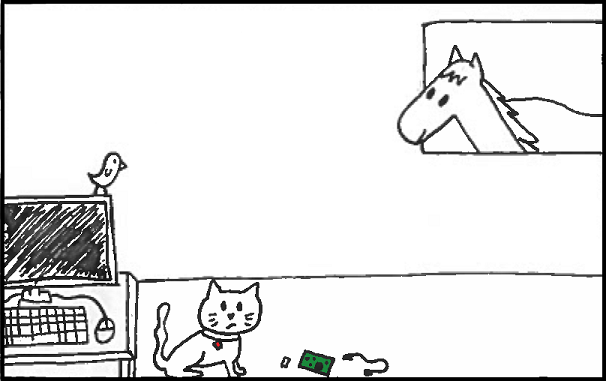
Ruby looked at the gadgets laid out in front of her and frowned.
"Gee, I have no clue how I'm supposed to use these."
Ruby was somewhat of a collector. Whenever she finds some interesting or shiny object, she hides it in the bonus room. Gerry never goes back there, so it's almost like she has her own office!
"I think I can help!" Pixel fluttered down to take a closer look.
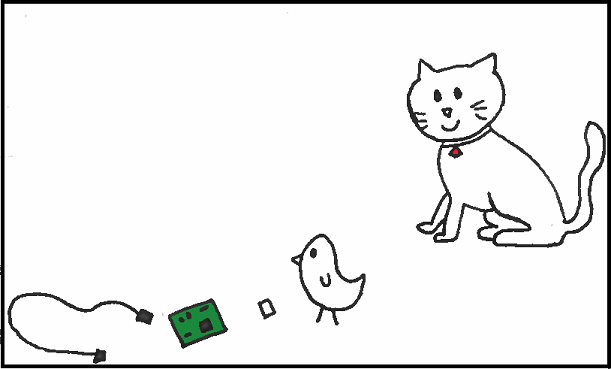
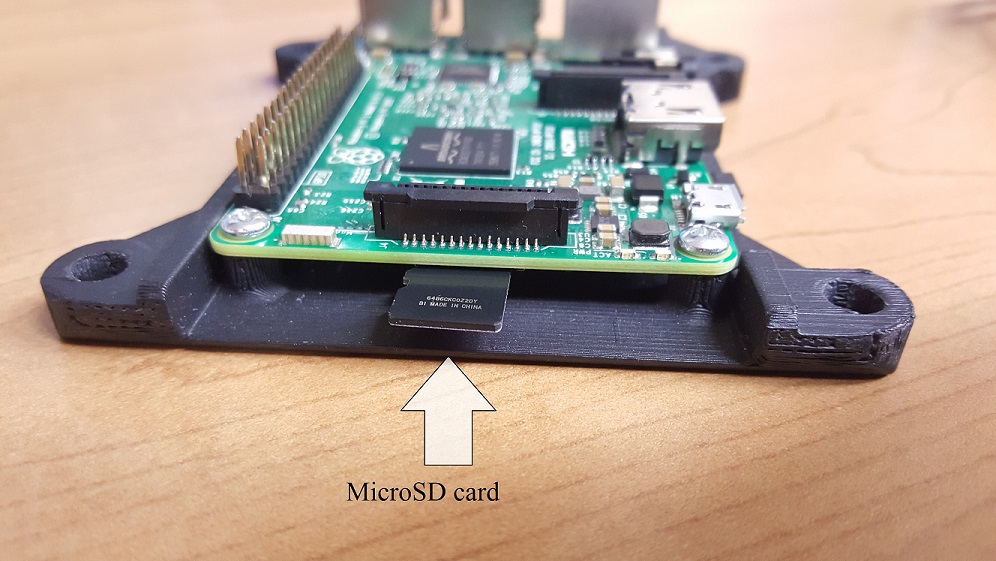
"Ah yes, I see now. Here we have a microSD card, a USB charging cable, and this green thingy here is a Raspberry Pi."
"A raspberry pie? That doesn't look like something I can eat!" Remarked Ed.
"No, no, this is a Raspberry Pi, not a raspberry pie. It's a tiny computer!" Pixel replied.
"No way, a whole computer in that little rectangle?" Ruby couldn't believe it.
"For real!" said Pixel. "Look here, you can see the little pins and ports and chips."
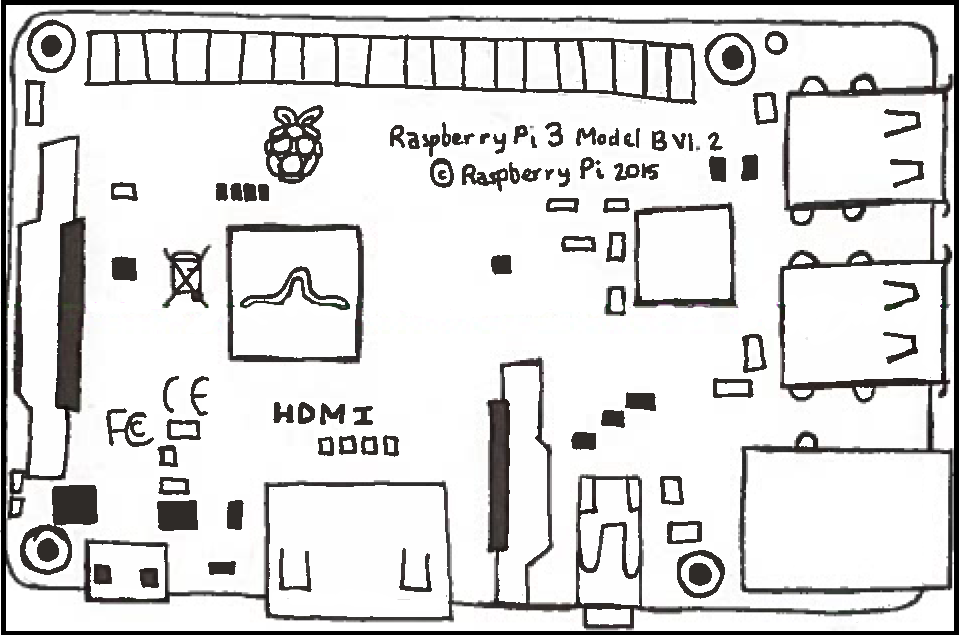
"You can connect it to a monitor, plug in a keyboard and mouse, and it's just like a regular desktop!" Pixel explained. "Here, this is how it all works..."
Getting to Know the Raspberry Pi
The Raspberry Pi is a single board computer (or SBC), where the entirety of the computer is printed on a single circuit board. You can think of the Raspberry Pi as a mini computer. It has enough resources to allow the user to do basic activities such as writing documents, and surfing the Internet. We will use the Rapsberry Pi as our main computer for the exercises we will be doing in this book.
The Raspberry Pi has a lot of the same parts that you may recognize from other computers that you've interacted with. One reason the Raspberry Pi is so affordable is that a lot of these components are a lot less powerful than those you find desktops and laptops. Let's take a closer look at the Raspberry Pi:
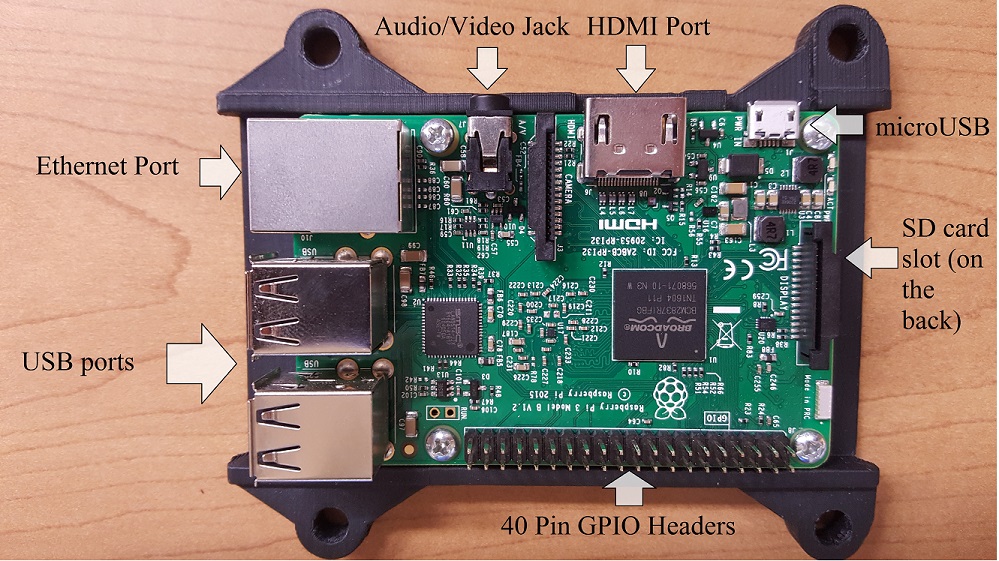
Your Raspberry Pi is a fully functioning computer. That means when you boot it up, you would see a Desktop
environment, just like when you boot up a laptop! At this point, if you have a separate HDMI enabled monitor,
a USB keyboard and USB mouse that you can connect your Pi, you can plug those in, power up your Pi, and
log in. The username is root and the password is toor.
If you can succesfully log in at this point,
congratulations! You are now ready to move on to the fun part! Click here to continue.
To learn more about the Raspberry Pi, click here.
Advanced Setup
If you don't have access to an extra monitor, mouse and keyboard, but have a windows or Mac laptop, you can still use your Raspberry Pi by connecting to it via the laptop! Click below for these instructions: Headless Setup Instructions
Setting up the MicroSD Card
If you are following this tutorial from home, you may need to "burn" (a type of copying) an image onto the SD card. This will allow us to load the Operating System on our microSD card.
Formatting the MicroSD Card
Before doing anything with the SD card we have to format it. This "preps" our microSD card to receive the operating system.
- Insert the microSD card into the card reader slot using the SD card adapter on your laptop
- Open File Explorer (or press the windows key + E) and navigate to This PC.
- You should see the microSD card under Devices and Drivers
- Right click on it and choose "Format"
- Click Start/Ok and close after it is done
"Burn" the Kali Linux Image onto the SD card
Now we can copy the operating system for the RaspberryPi onto the microSD card. The operating system for our Raspberry Pi is called Kali Linux. The Linux operating system is a common OS used by security professionals and computer scientists. Kali is one of the most popular distributions of Linux among security professionals and enthusiasts. Follow the steps below to get Kali on your system:
- From internet: Download and install Win32 Disk Imager (found here https://sourceforge.net/projects/win32diskimager/)
- Download the Raspberry image from here
- Open Win32 Disk Imager and navigate to where you downloaded the image and click OK
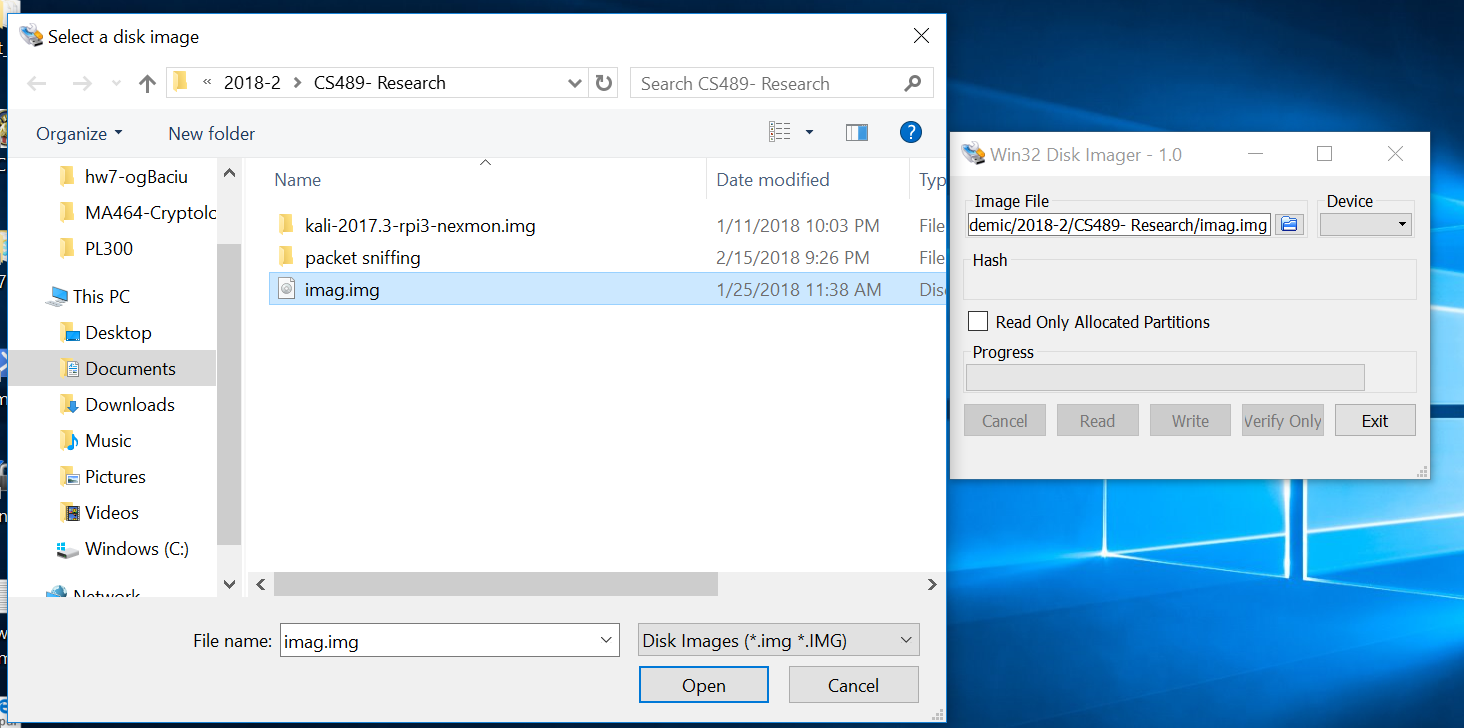
- Click on the Write button to begin writing the image on the micro SD card.
- Once it is done, it will appear that the micro SD card is empty. No worries! This is how it's supposed to look!
- Eject the card from your laptop and insert it in the RaspberryPi.
The image that we provide you in Step 2 comes pre-installed with all the software you need to get started with the Raspberry Pi and explore the concepts along with ScriptKitty.
Stuck? Click here for some troubleshooting tips.
Ready to go
The group smiled at their handiwork.
"Wow, glad we could figure all of that out!" Remarked Ruby. "Now we can get to the bottom of whatever Gerry has been doing online!"
When you're ready to move on to Chapter 2, click here.
Troubleshooting
Q: How can I tell if my monitor is HDMI enabled?
A: Look at the back of the monitor. You should see a port similar to the HDMI port on the Raspberry Pi. If you don't have that port, the monitor is not HDMI enabled. Remember that you need a HDMI cable to connect the Pi to your monitor!
Q: I don't have a HDMI computer monitor. What are my other options?
A: If you don't have a HDMI computer monitor, don't worry! A lot of modern TVs have HDMI ports. You can use your TV as a monitor by connecting the Pi directly to your TV using a HDMI cable! You can also ask your teacher if you can use the school's computer monitors to connect to your Raspberry Pi.
If you don't have a HDMI-enabled monitor and keyboard at home but have a laptop, see if you can get a patch cable and microUSB cable. This will allow you to connect to the Raspberry Pi using our advanced instructions.